
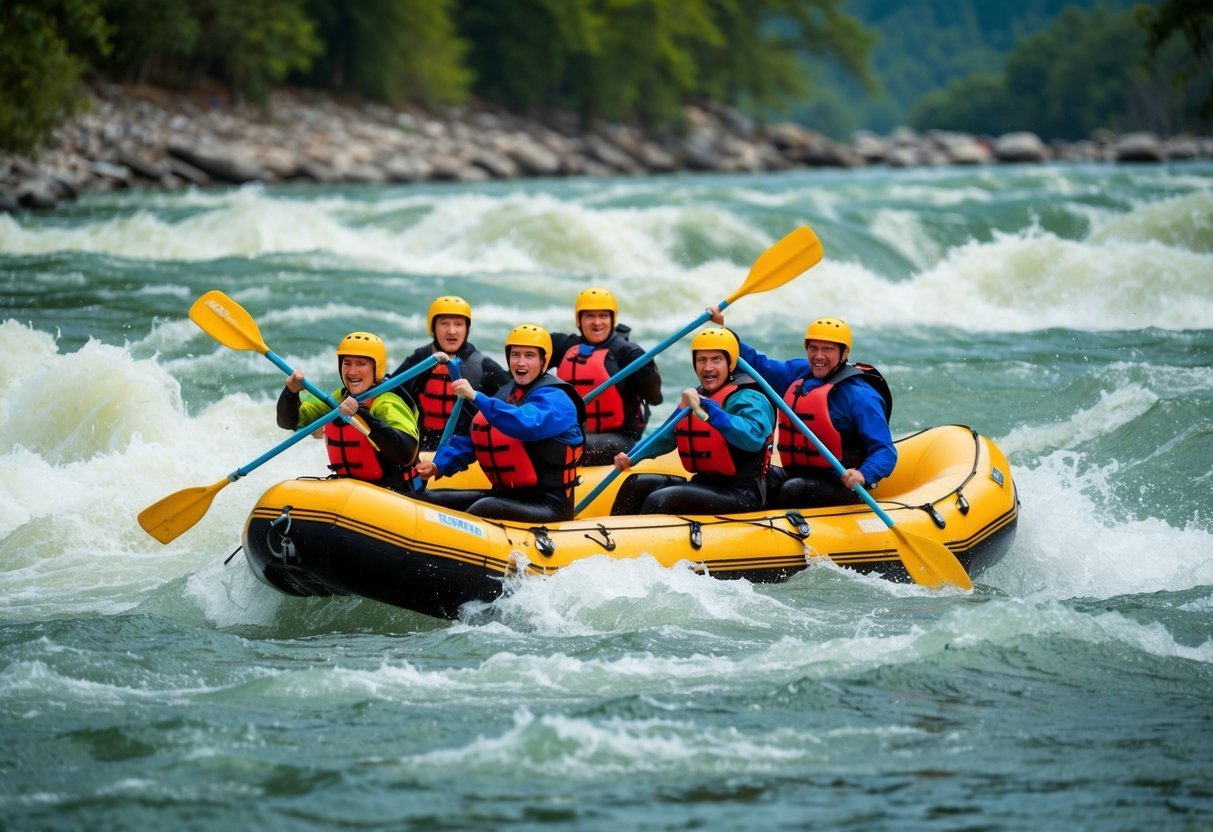
White-water rafting offers an exhilarating adventure that combines the thrill of navigating turbulent waters with the beauty of nature.
As you prepare to embark on this exciting journey, it’s crucial to understand the techniques and safety measures that will ensure a successful and enjoyable experience.
Mastering the essential techniques and prioritizing safety can make your white-water rafting adventure both thrilling and secure. From proper paddle handling to understanding river classifications, there’s a wealth of knowledge to acquire before you hit the rapids.
This article will explore seven key facts about white-water rafting techniques and safety, providing you with valuable insights to enhance your next river expedition.
1) Scouting the Rapids
Before you tackle any whitewater, it’s crucial to scout the rapids.
This means getting out of your raft and taking a good look at what’s ahead.
When you’re scouting from your canoe, you might be able to stand up for a better view.
But be careful – you don’t want to tip over before you even start!
For trickier rapids, you’ll want to get out and walk along the shore.
Look for the safest route through the whitewater and any potential hazards.
Pay attention to rocks, fallen trees, and strong currents.
These can all pose dangers if you’re not prepared.
Scouting isn’t just about looking.
It’s about planning your route and deciding how you’ll navigate each section of the rapid.
Conditions can change quickly on the river, so what looked manageable from shore might feel very different when you’re in the thick of it.
Always trust your gut.
If a rapid looks too challenging, there’s no shame in portaging around it.
Safety should always be your top priority on the water.
2) Paddle Commands
When you’re barreling down rapids, clear communication is key.
Your guide will teach you essential paddle commands before you hit the water.
These simple, clear instructions help coordinate the team’s movements.
“Forward paddle” and “back paddle” are two crucial commands you’ll hear often.
For back paddling, remember to use your body as leverage.
Place the paddle on your hip and pry the water away from you.
You’ll also need to know “right turn” and “left turn” to navigate obstacles. “Stop” is another important command – it means to hold your paddle still in the water.
“Get down” is a safety command.
When you hear this, duck into the raft immediately.
It’s usually used when approaching low-hanging branches or other hazards.
Remember to keep one hand on the T-grip of your paddle at all times.
This helps prevent accidents and gives you better control.
Listen carefully to your guide’s commands and follow them promptly.
Quick reactions can mean the difference between an exhilarating ride and an unexpected swim.
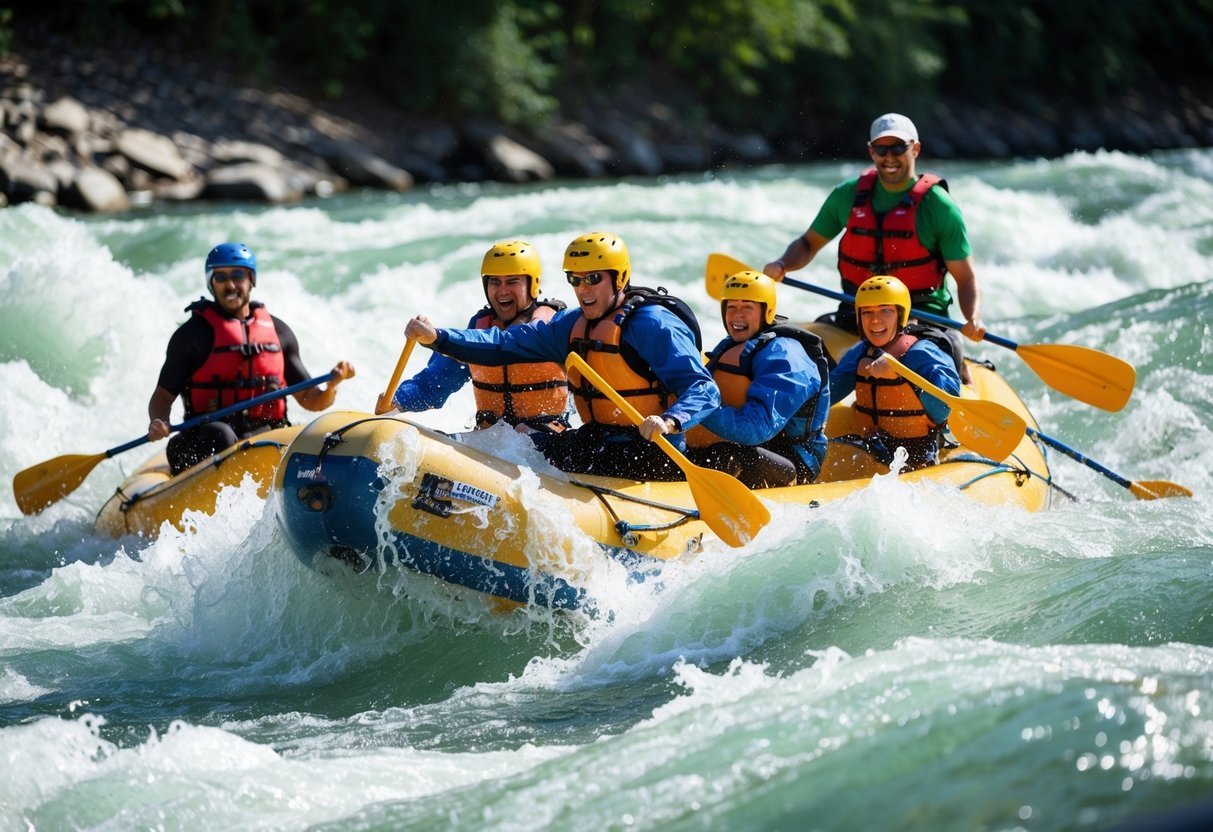
3) High-Siding Technique
High-siding is a crucial skill you’ll need to master for whitewater rafting.
It’s all about shifting your weight to prevent the raft from flipping in turbulent waters.
When you’re approaching a big wave or hydraulic, your guide might yell “High side!” This is your cue to spring into action.
You’ll want to quickly move to the side of the raft that’s lifting out of the water.
By adding your weight there, you help stabilize the boat and keep it from tipping over.
It’s important to react fast and move decisively.
Don’t hesitate or you might miss your chance to save the raft from flipping.
Remember to keep your feet securely wedged under the foot cups or thwarts while high-siding.
This helps you maintain balance and prevents you from falling out.
Practice makes perfect with this technique.
The more you do it, the more natural it’ll feel when you’re out on the rapids.
High-siding is a team effort.
Everyone needs to move together for it to be effective, so stay alert and listen for your guide’s instructions at all times.
4) Throw Bag Use
A throw bag is a crucial piece of safety gear for white-water rafting.
It’s essentially a bag filled with rope that you can toss to someone in the water who needs help.
When using a throw bag, aim slightly upstream of the person you’re trying to rescue.
This gives them a better chance of grabbing the rope as they float towards it.
Make sure you have a firm stance before throwing.
You don’t want to get pulled in yourself! Yell “Rope!” to alert the swimmer before tossing the bag.
If your first throw misses, quickly pull the rope back in and try again.
Speed is key in rescue situations.
Most throw bags contain about 70 feet of rope, giving you a good reach for most rescue scenarios.
Practice throwing your bag on dry land.
The more comfortable you are with it, the better you’ll perform in a real emergency.
Remember to keep the rope clean and free of tangles.
A knotted rope can be useless in a crisis.
5) Team Communication
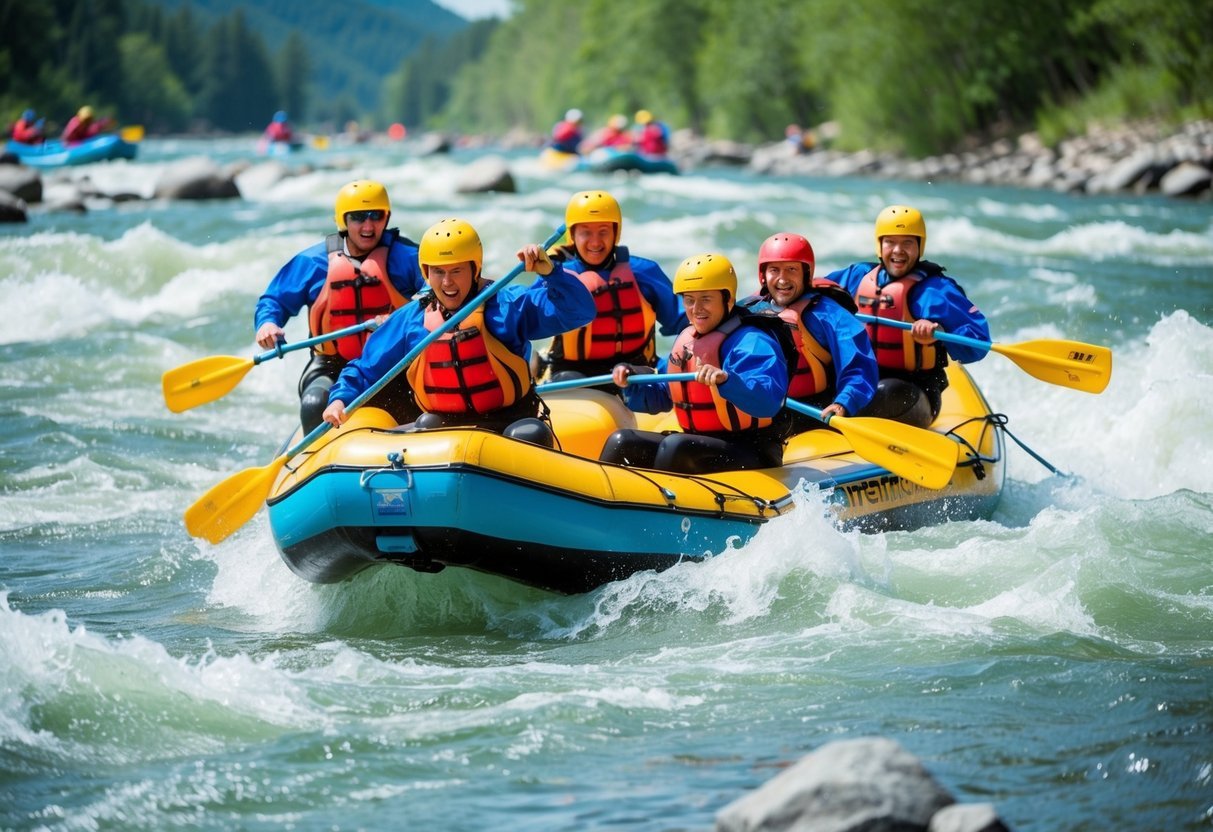
White-water rafting demands top-notch communication skills.
You and your fellow rafters need to work as a well-oiled machine to navigate those churning rapids.
Your guide will usually shout out commands, and you’ve got to react fast. “Forward paddle!” means it’s time to dig those paddles in and power through. “Back paddle!” tells you to reverse course pronto.
Paddling in sync is crucial.
The person up front often sets the pace, so keep an eye on them and match their rhythm.
If you’re out of sync, you’ll just be splashing water around instead of moving the raft.
Non-verbal communication is key too.
You might need to point out obstacles to your buddies or give a thumbs up to show you’re okay after a big splash.
Remember, rafting’s a team sport.
You’ve got to trust your crew and have each other’s backs.
If someone goes overboard, you’ll need to work together to haul them back in.
Clear, quick communication can make the difference between an epic adventure and a dunking in the drink.
So speak up, listen hard, and watch out for your fellow rafters.
6) Reading the River
Navigating white-water rapids isn’t just about paddling hard.
You need to read the river like a map unfolding in real-time.
The first thing to look for is the ‘Downstream V.’ This feature shows you the deepest and fastest part of the current.
You’ll see a V-shape in the water, with the point aimed downstream.
Keep an eye out for obstacles like rocks or fallen trees.
These can create hazards you’ll want to avoid.
Watch for changes in water color too.
Darker water usually means it’s deeper, while lighter areas might hide shallow spots or rocks just below the surface.
Eddies are your friends in white-water.
These calm spots behind obstacles can give you a breather and help you regain control if needed.
Remember, conditions can change quickly.
Stay alert and keep reading the river as you go.
Your ability to spot and react to these features can make your ride safer and more exciting.
7) Floating Position
If you fall out of the raft, don’t panic.
Knowing the proper floating position is crucial for your safety.
Lie on your back with your feet pointing downstream.
This position helps you see where you’re going and avoid obstacles.
Keep your toes up and out of the water.
This prevents your feet from getting caught on rocks or debris underwater.
Your arms should be out to your sides, slightly bent at the elbows.
This helps you maintain balance and steer yourself if needed.
Hold the paddle properly if you still have it.
One hand at the base, the other on the “T” grip at the end.
Keep your bottom up to avoid bumping on rocks.
Tighten your muscles and try to float high in the water.
Look for your raft or guide’s instructions.
They might throw you a rope or guide you to a safe spot.
Remember to breathe and stay calm.
Panicking wastes energy and makes it harder to follow instructions or rescue yourself.
Understanding White-Water Rafting
White-water rafting offers an exhilarating way to experience nature’s raw power.
You’ll navigate rushing rivers while working as a team and testing your limits.
What is White-Water Rafting?
White-water rafting involves riding an inflatable raft down rivers with rapids.
The frothy, turbulent water creates the “white water” effect you’ll encounter.
You’ll typically join a guided tour led by an experienced river guide.
They’ll help you navigate the rapids safely while explaining river features and techniques.
Rapids form where the river gradient steepens, creating fast-moving water over rocks and obstacles.
The intensity varies, offering different challenge levels for all abilities.
Essential gear includes helmets, life jackets, and paddles.
Your guide will provide safety instructions and teach you paddling techniques before you hit the water.
Types of Rafting Adventures
Rafting trips come in various styles to suit your preferences:
- Day trips: Perfect for beginners or those short on time
- Multi-day expeditions: Camp riverside and explore remote areas
- Family-friendly floats: Gentle rapids ideal for kids and groups
- Advanced white-water: Intense rapids for experienced rafters
River difficulty is rated on a scale from I (easiest) to VI (expert-only):
- Class I-II: Mild rapids, suitable for beginners
- Class III: Moderate waves, good for intermediates
- Class IV-V: Large waves and drops, for experienced rafters
- Class VI: Extreme danger, rarely attempted
You can choose scenic floats through canyons or heart-pounding descents over waterfalls.
Some trips combine rafting with other activities like hiking or wildlife viewing.
Essential Techniques for Safe White-Water Rafting
Mastering a few key skills can make your white-water rafting experience both thrilling and secure.
These techniques will help you navigate rapids confidently and handle unexpected situations like a pro.
Paddling Basics
Getting your paddle technique right is crucial for a smooth ride.
Hold the T-grip with one hand and place the other hand about halfway down the shaft.
Keep your arms straight and use your core to power your strokes.
Forward strokes: Reach forward, dip the paddle in, and pull it back alongside the raft.
This moves you forward.
Backward strokes: Do the opposite to slow down or stop.
Proper paddle technique is key for teamwork and control.
Listen to your guide’s commands and sync up with your fellow rafters.
Remember to switch sides occasionally to avoid fatigue.
Stay alert and be ready to paddle on either side when needed.
Reading the River
Learning to spot river features helps you anticipate what’s coming.
Look for:
- V-shaped waves: Often indicate deeper channels
- Rocks and obstacles: Avoid these!
- Eddies: Calm spots behind obstacles, useful for resting
- Hydraulics: Dangerous circular currents, steer clear
Understanding river conditions is crucial.
Rapids are classified from Class I (easy) to Class VI (extreme).
Know your skill level and the difficulty of the river you’re tackling.
Always scan ahead and communicate with your team.
Point out hazards and follow your guide’s instructions for the safest path through rapids.
Emergency Maneuvers
Knowing what to do in tricky situations can be a lifesaver.
Here are some key moves:
-
High-siding: If the raft hits a rock, quickly move to the high side to prevent flipping.
-
Swimming rapids: If you fall out, float on your back with feet downstream. Keep your toes up to avoid foot entrapment.
-
Throw bag rescue: Learn to throw and catch a rescue rope accurately.
Safety instructions from your guide are crucial.
Pay attention during the pre-trip briefing and ask questions if anything’s unclear.
Practice these techniques in calm water before hitting the rapids.
Stay calm if things go wrong – panicking only makes situations worse.
Frequently Asked Questions

White-water rafting can be thrilling, but it’s important to be prepared.
Here are some key things to know before hitting the rapids.
What should you wear when you go white-water rafting?
Wear quick-drying clothes and avoid cotton.
Synthetic materials like nylon or polyester are ideal.
Don’t forget a hat and sunscreen for sun protection.
A wetsuit might be necessary for colder water.
Secure footwear is a must – water shoes or old sneakers work well.
Can you give me some tips for beginners trying out white-water rafting?
Listen closely to your guide’s instructions.
They’ll teach you proper paddle technique, which is crucial for a successful trip.
Learn and follow paddle commands.
This ensures smooth teamwork on the raft.
Don’t be afraid to ask questions if you’re unsure about anything.
What are the basic safety rules everyone should know before white-water rafting?
Always wear a properly fitted life jacket.
Stay in the raft unless instructed otherwise by your guide.
Hold your paddle correctly to avoid injuries.
Keep one hand at the base of the shaft and the other on the T-grip at the end.
Are there common injuries to be aware of in white-water rafting?
Bruises and scrapes are common.
More serious injuries can include sprains, fractures, or hypothermia in cold water.
Pay attention to your guide’s safety briefing.
They’ll cover potential hazards and how to avoid them.
What do I need to know before becoming a white-water rafting guide?
You’ll need extensive knowledge of river dynamics and safety procedures.
First aid and CPR certifications are typically required.
Physical fitness is important, as is the ability to stay calm under pressure.
Most companies provide training programs for aspiring guides.
How does white-water rafting difficulty vary with different river classes?
Rivers are classified from Class I (easy) to Class VI (extreme).
Class I and II are great for beginners, with small waves and clear channels.
Class III offers moderate rapids with irregular waves.
Class IV and above involve more complex maneuvers and potential hazards.